What I made on “Blue Friday”
So this winter I am spending a couple of days a week taking things apart and making new objects from the pieces at the Intel Experience store. From those of you who follow me at the CRASH Space blog, you know how perfect this is. I heard about the gig through Maker Ed because they posted it on our discussion forum. Maker Ed is an educational outreach foundation brought to you by the folks at Maker Media of Maker Faire and Make magazine fame. Intel is one of the founding sponsors of Maker Ed and wanted there to be some interesting, educational and fun tinkering going on as part of the venue. It sort of fits perfectly, this splitting eWaste open for all to see the guts. #IntelInside, afterall!
The report so far: I loved the first day. It was pretty mellow. Rainy days on Abbot Kinney have mostly people who are out because they are on a mission. Among the folks who stopped by were a teacher who wants to be a Welder (sent her to Molten Metal Works), and finance guy who was interested in seeing the inside of stuff he funds, kids who were super excited to play with PacMan set up to work with the MakeyMakey. No one has had time to get hands on with me yet, but hopefully that will change today since there is not a cloud in the Southern California sky this morning.
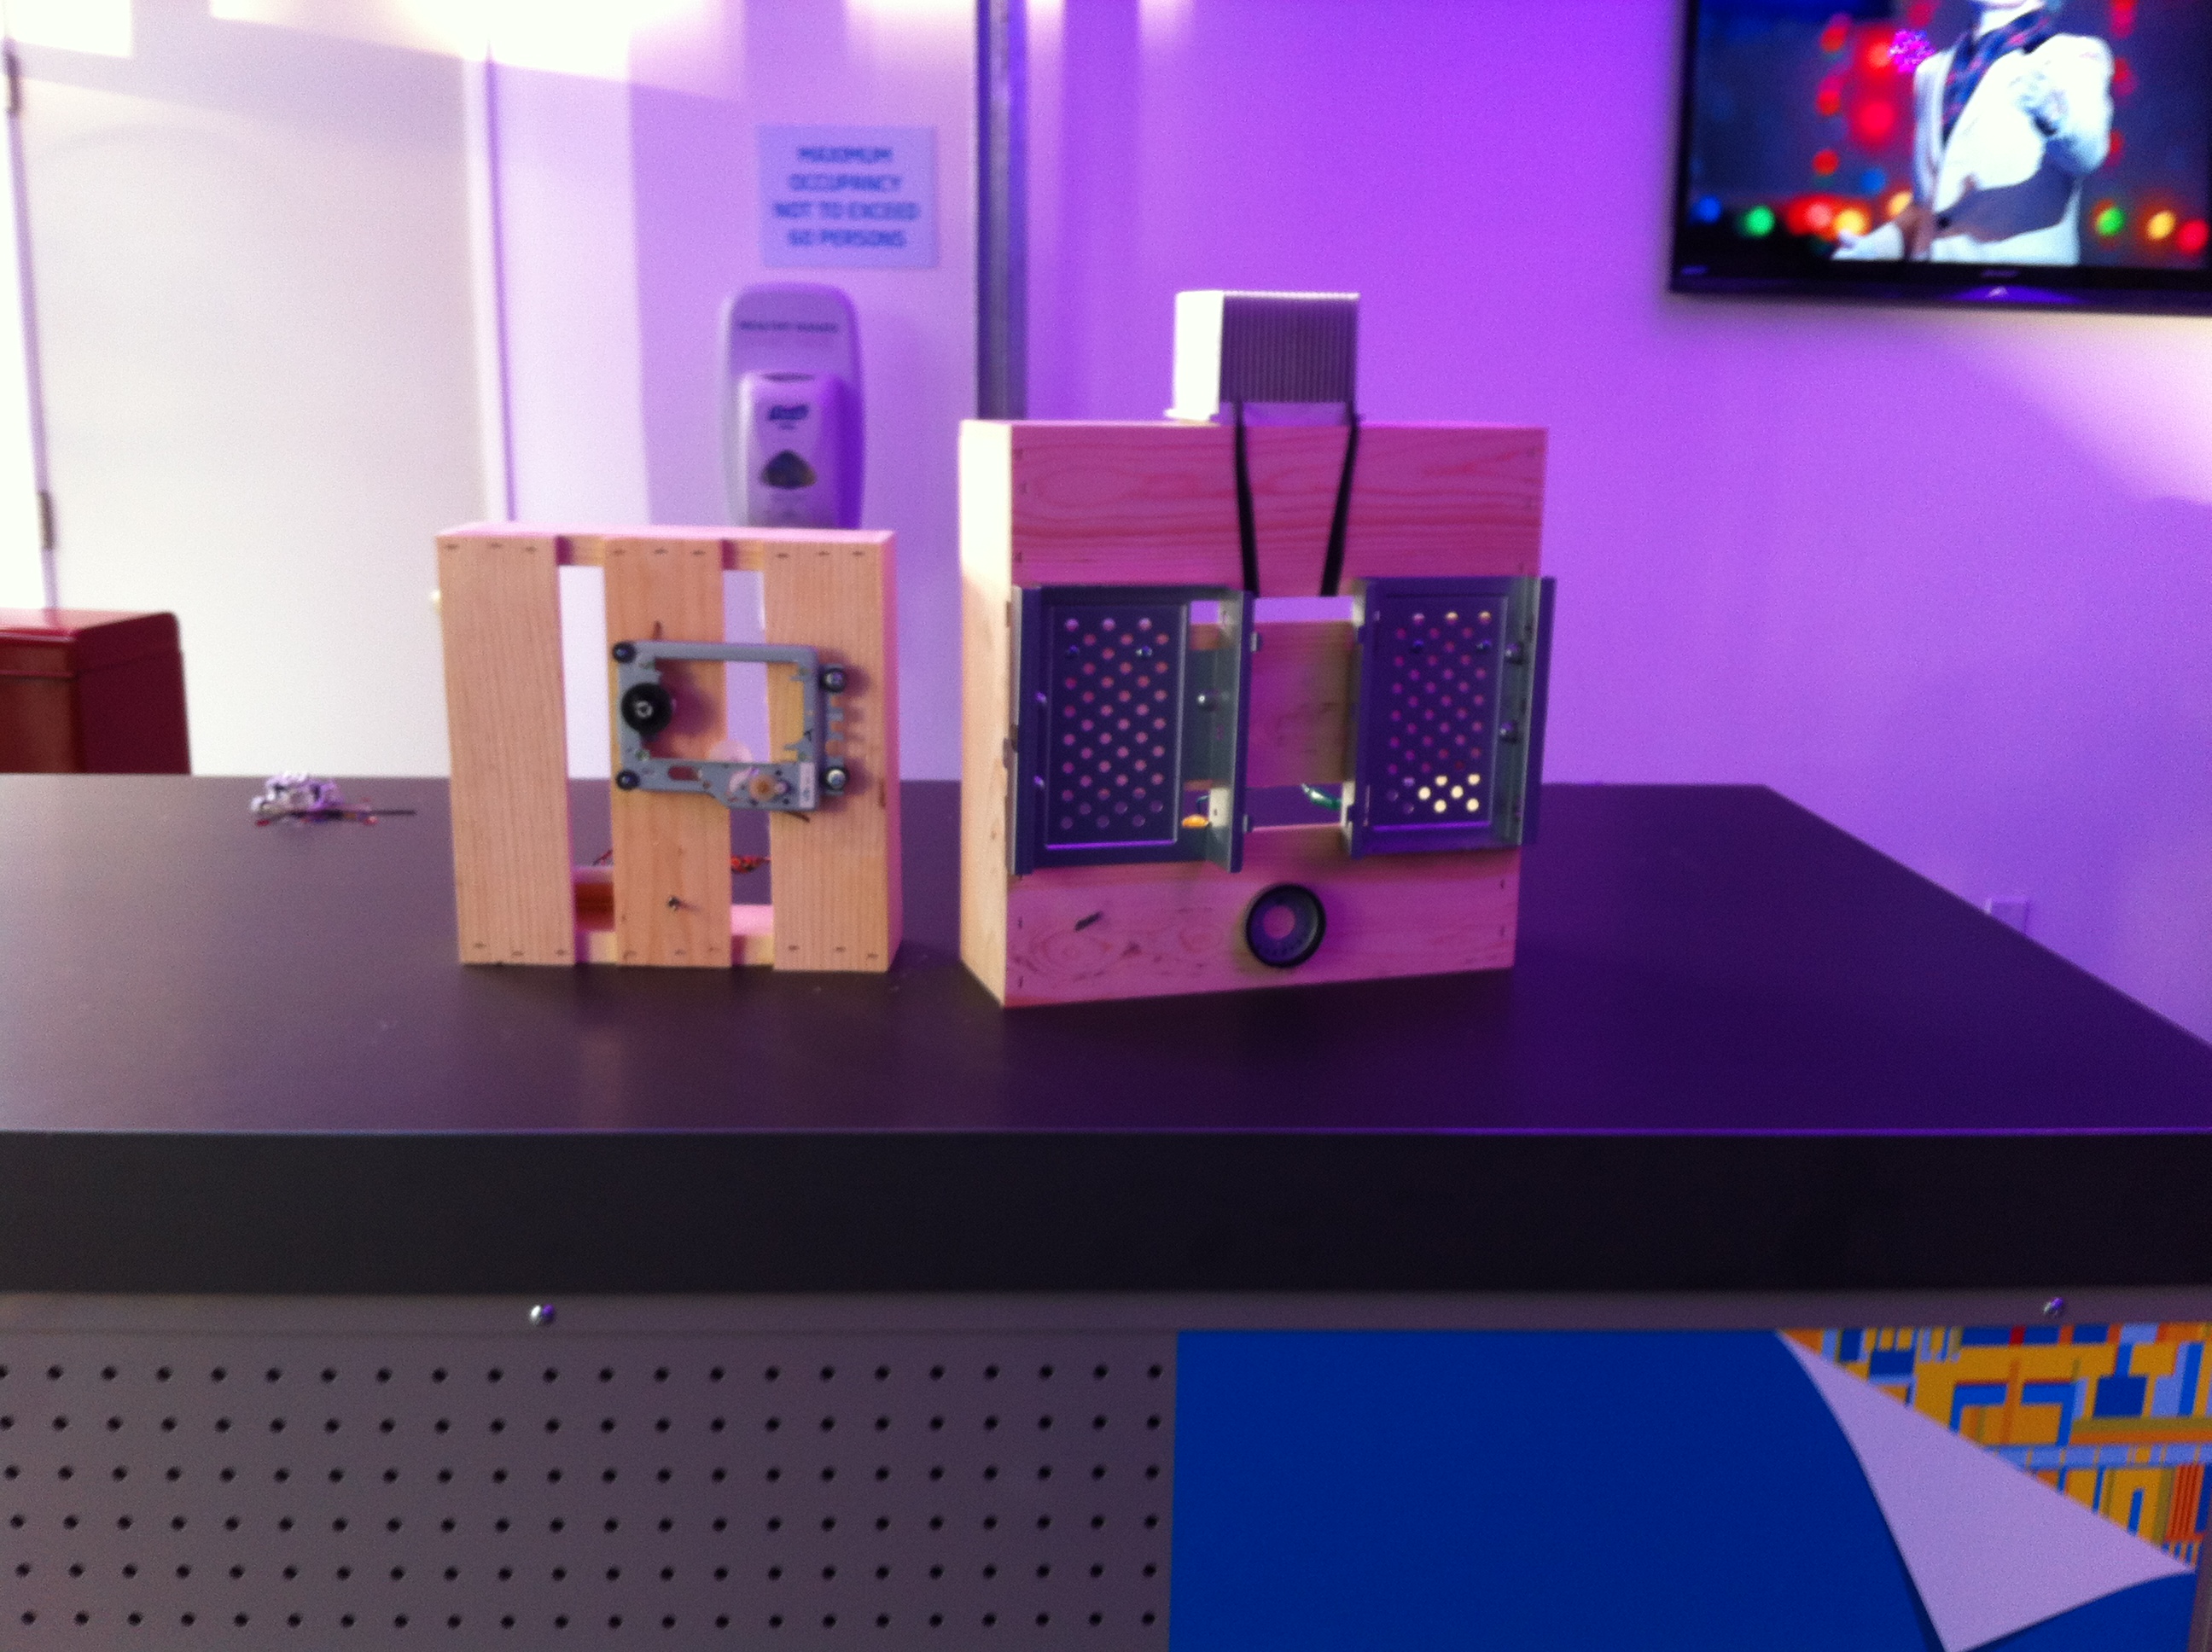
The first thing I did is strew out all the eWaste I had brought with me to seed the pile. VCRs, optical drives and printers are my favorite things to take apart. Really anything with motors and gearing. I am not a mechanical engineer so everything I’ve learned about how to make things spin and move has been by look at other people’s work.
I picked up a frame from a DVD drive and mounted it to small wooden crate they let me pilfer from the break room.

Holes drilled in crate before mounting motor carriage.
Tools & Supplies Used:
- Drill
- Medium sized drill bit, small drill bit
- 2 bolts, 4 nuts
- 2 screws
The next step was to wire it all up
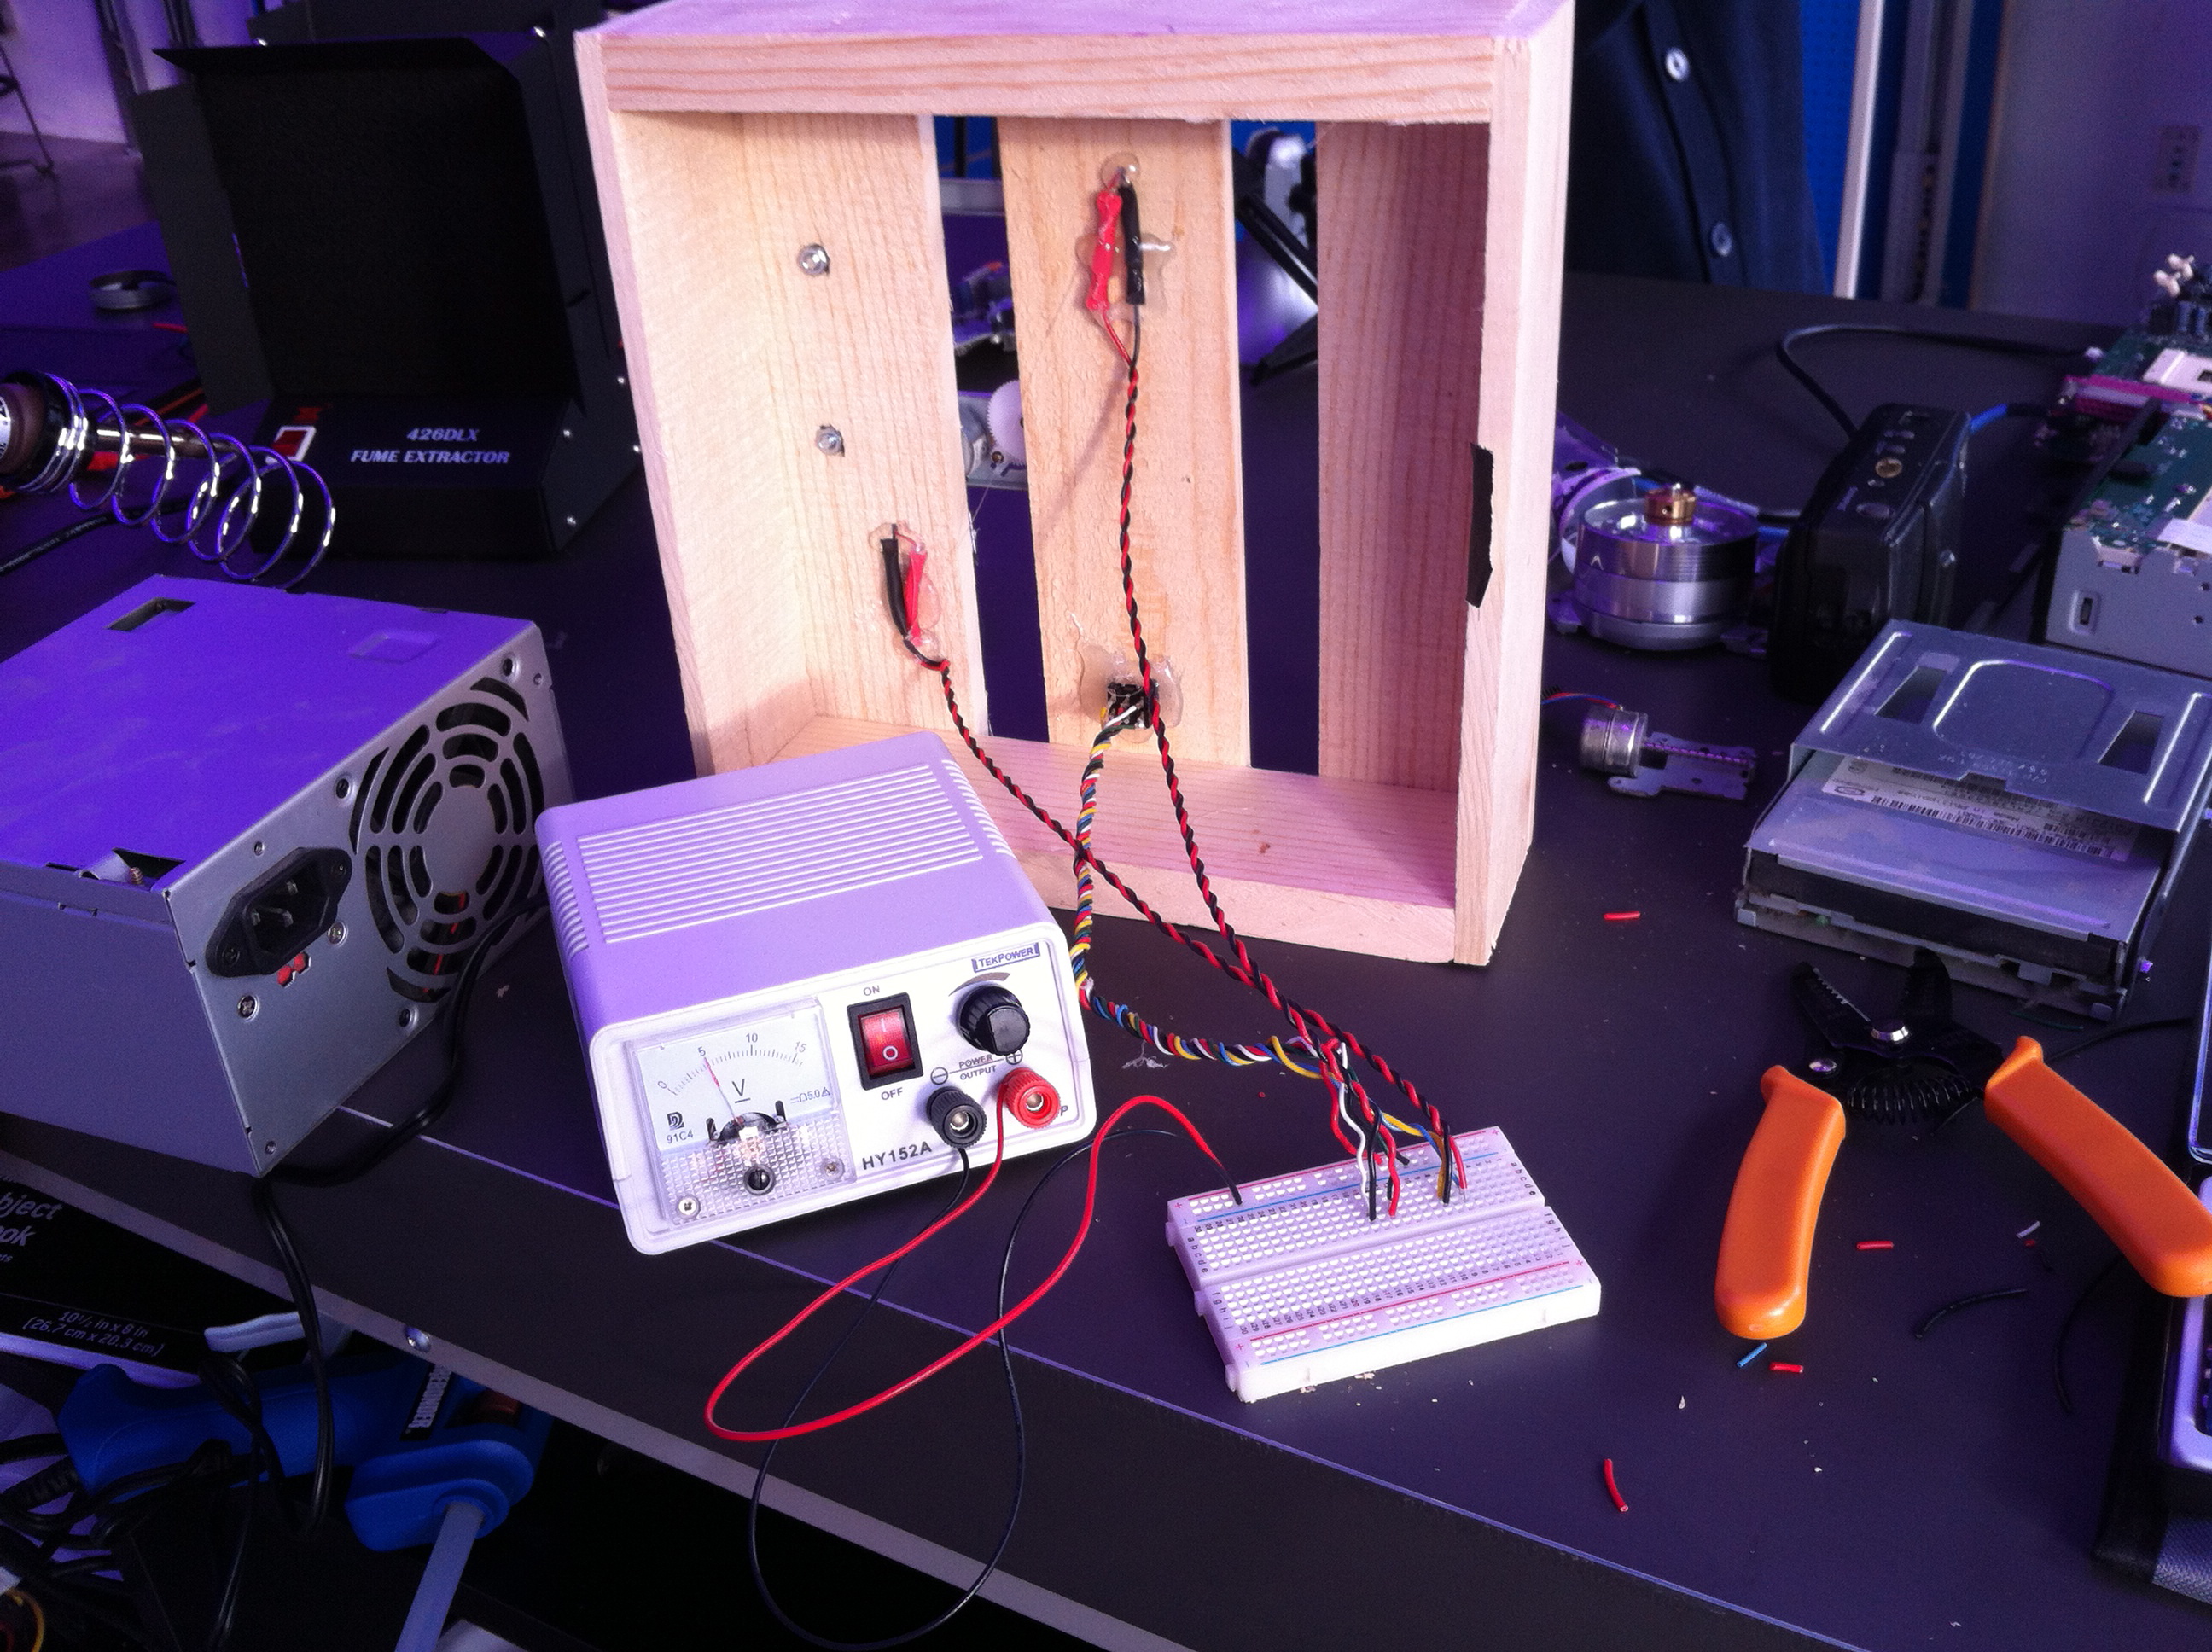
A variable power supply connected to two motors via a DPDT switch.
Tools & Supplies Used:
- Soldering Iron
- Solder
- 6 colors of wire
- DPDT swtich
- Heat shrink
- Hot glue
- Breadboard
- Drill (to spin wires up all pretty)
- Variable power supply
It works! Check out the Flickr set to see the video and schematic. Later today I’m going to change the wiring so both motors are on and the motors switch between going forward and back.
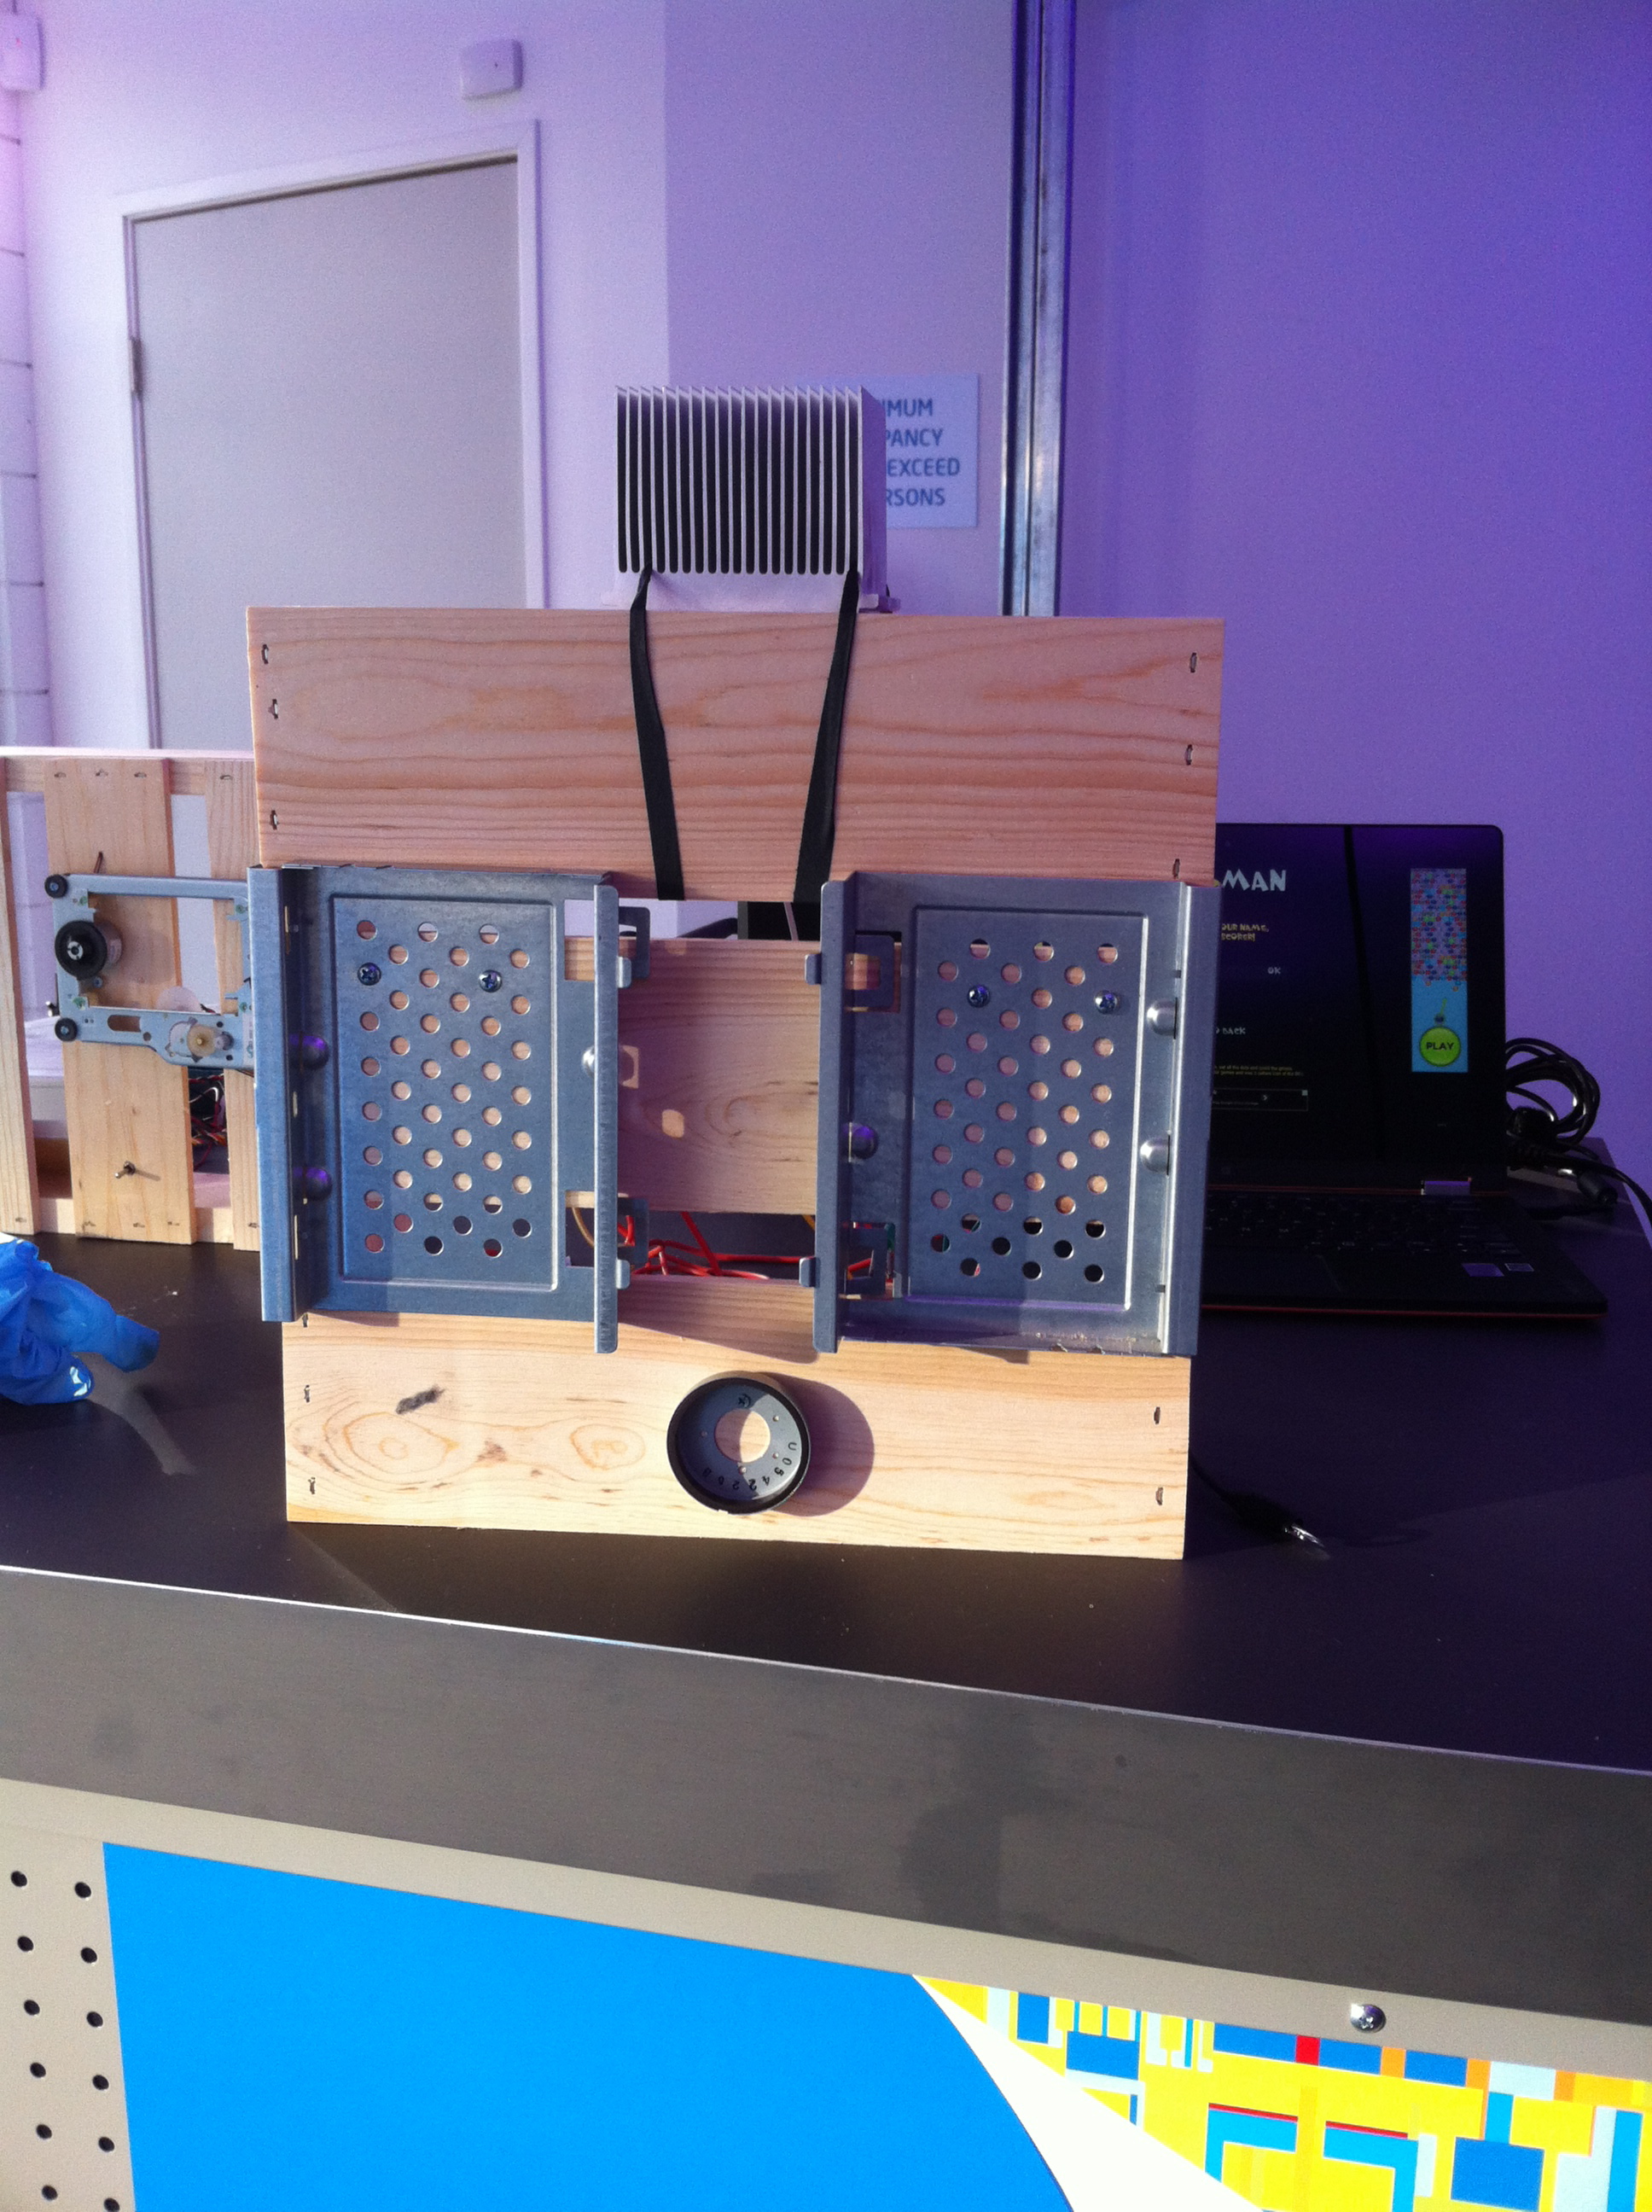
Spare parts attached to crate, alligator clips behind attach to Makey Makey
Also, I updated the Makey Makey set up to be a bit more sturdy. I am using ewaste parts because I forgot to pick up some produce or plants. The nice thing is that it doubles as a face and is fully reversible if we want to use the parts or crate for something else.
Tools & Supplies used:
- Shielding from computer break down
- Magnet from motor in VCR
- Heat sink
- Gaffer’s Tape
- Various screws