
The assembly disassembled.
TLDR: Saturday I rewired the DPDT circuits, soldered and broke lead wires, programmed an Arduino, wired up a transistor and desoldered a colorful array of resistors from a circuit board. (In pictures and short videos). Next time I plan to either mount more motors to the box or set up an H-Bridge. Also I’ll be turning a computer power supply into a bench-top source so we don’t eat through batteries.
Some fails and some wins yesterday. And lots and lots of heat. Friday had been a cloudy day and it had been very pleasant to work in the front window. Yesterday the heat was raging and it made pictures very contrasty. I held up a circuit board as a scrim when I had enough hands free to do it. Note to self… fill up your water bottle!
But about the projects. My first thought had been to tackle this one motor assembly that I had been putting off working on because it had very short lead wires on the motor. It had come to me as a result of CRASH Space’s involvement with STAR Education’s 2nd annual Light’s on After School S.T.E.A.M. Nation event where we ran the Take Apart table. It had been an orgy of dismantling, with the parts being extracted with more joy than care. Which is how it should have been, of course. It was a blast. That is however how you end up with short lead wire to work with.
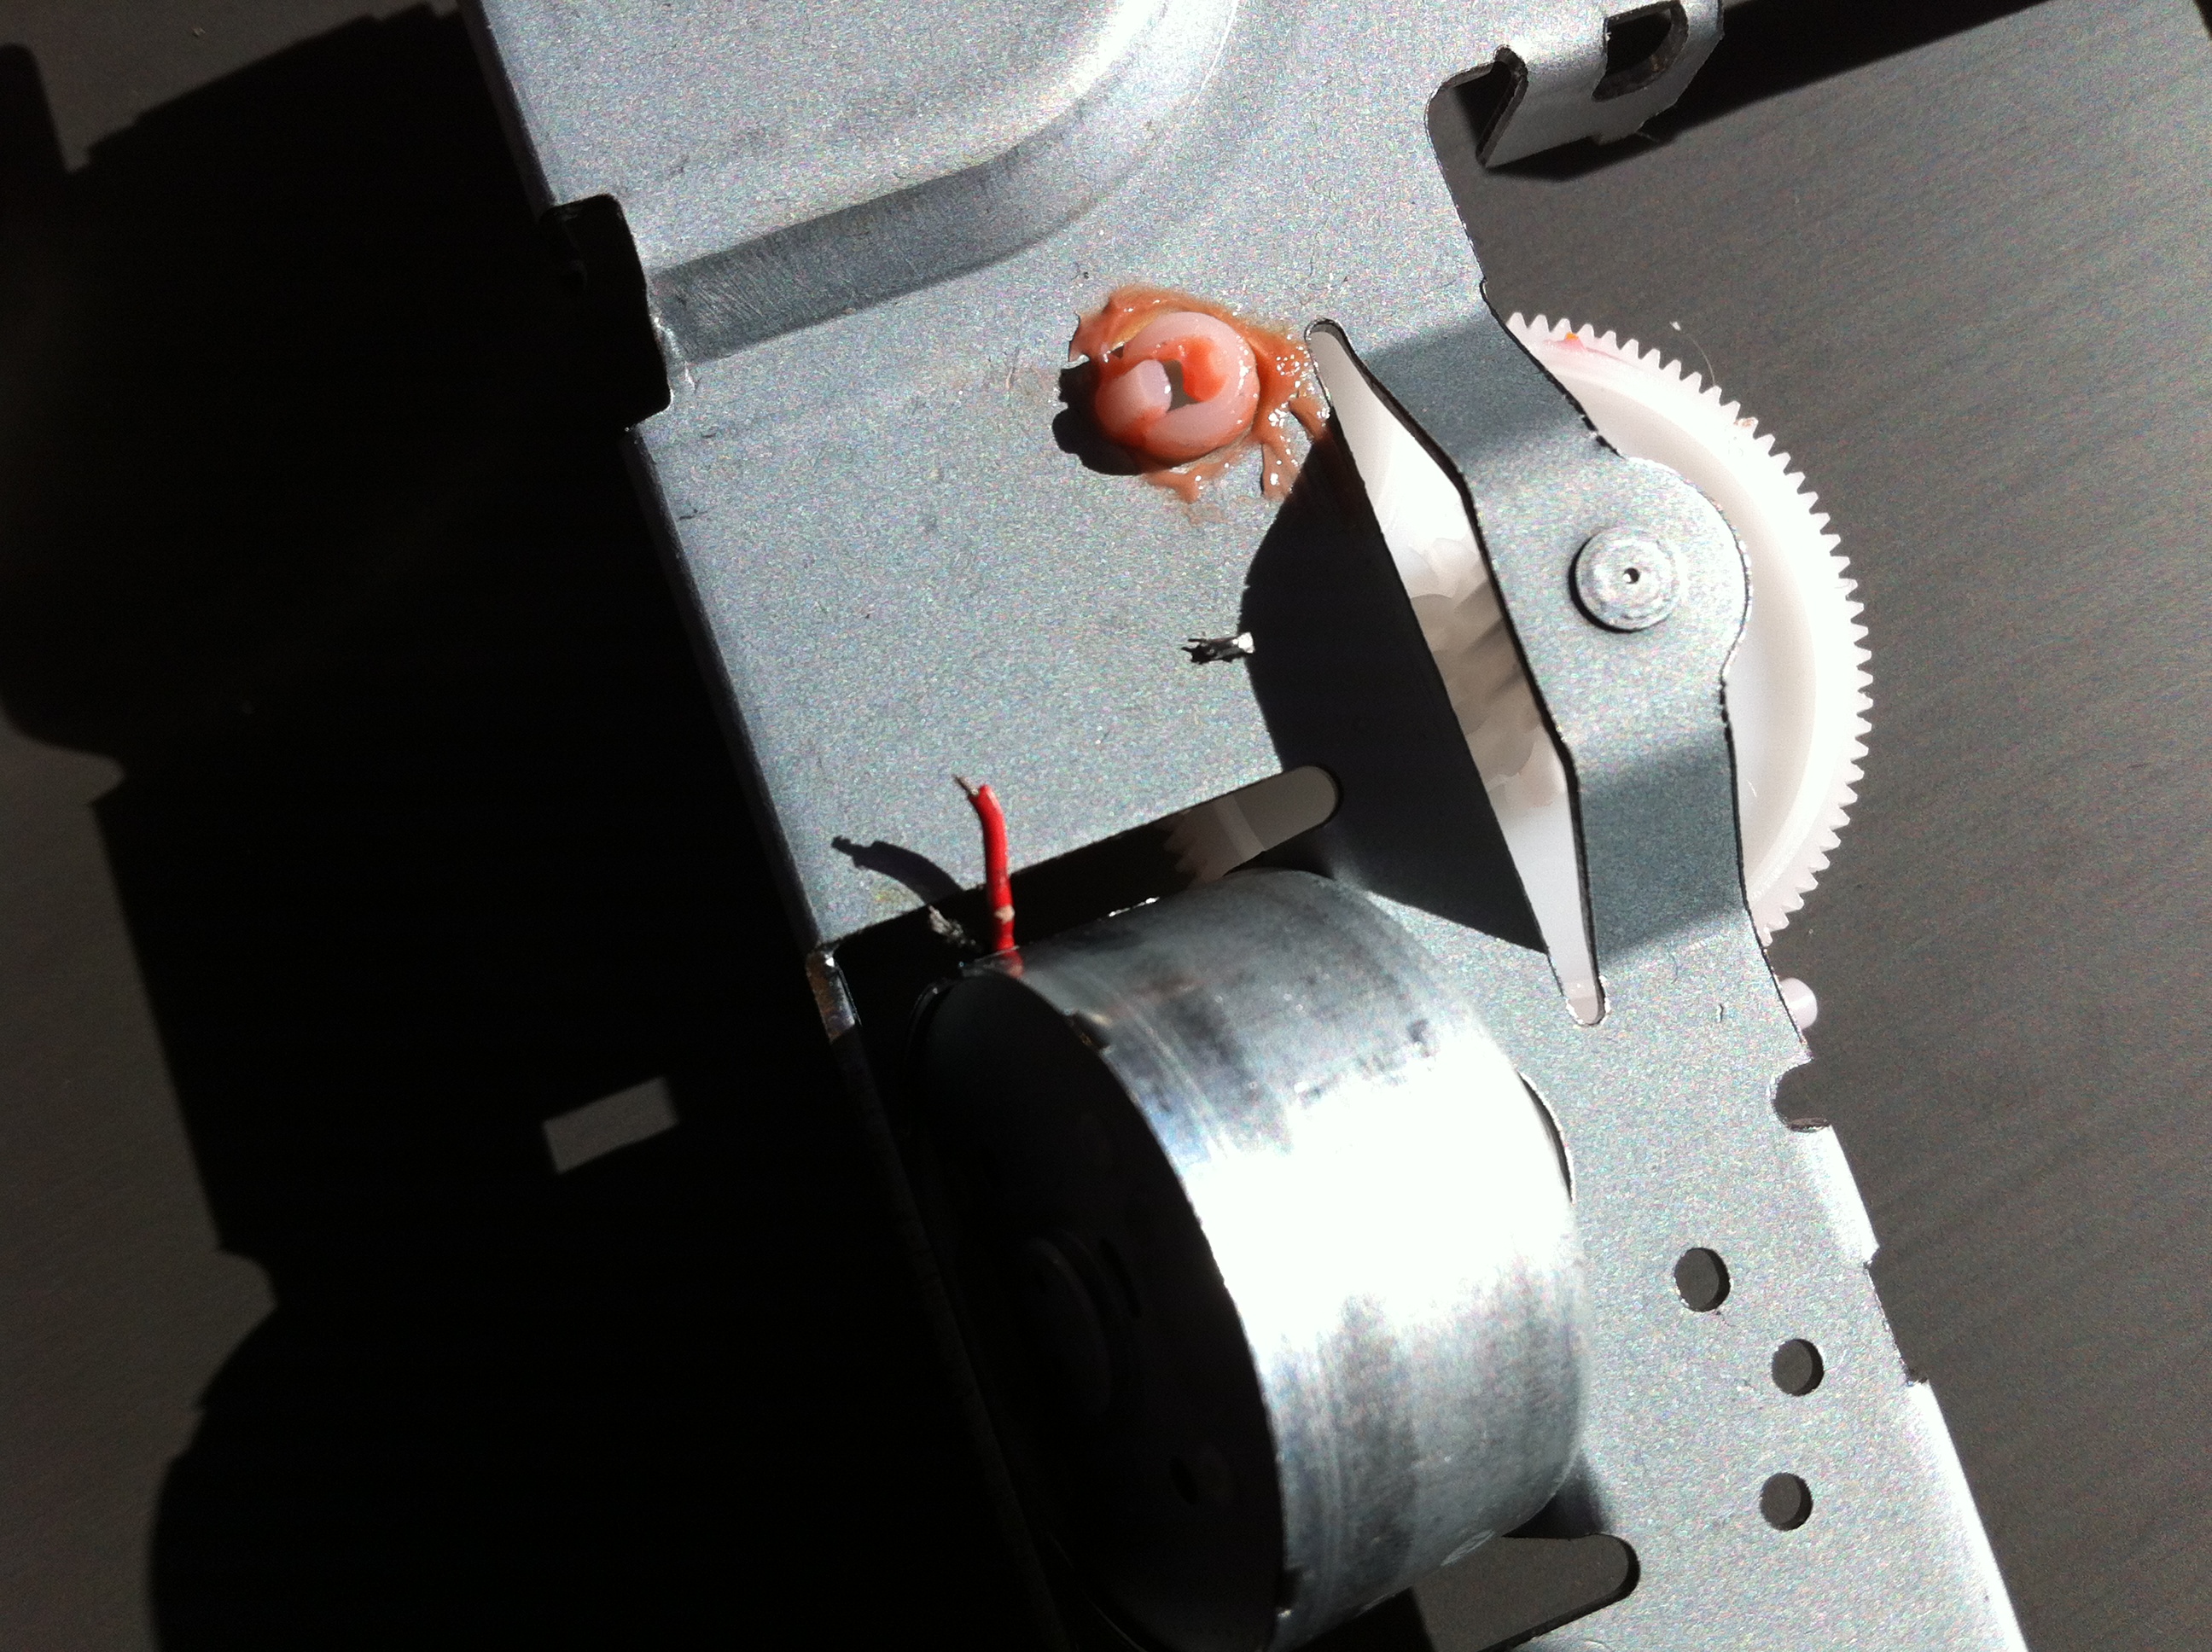
Tiny tiny lead wires on a motor salvaged from a Take Apart event for Children.
The good news! I made perfect solder joints! YAY! The bad news I didn’t take a picture before I ended up ripping them off twisting the wires with the drill. I hadn’t gotten both lead wire secure into the jaws of the drill so the black wire flew out and the force broke both of the connections leaving even tinyier stubs.
–

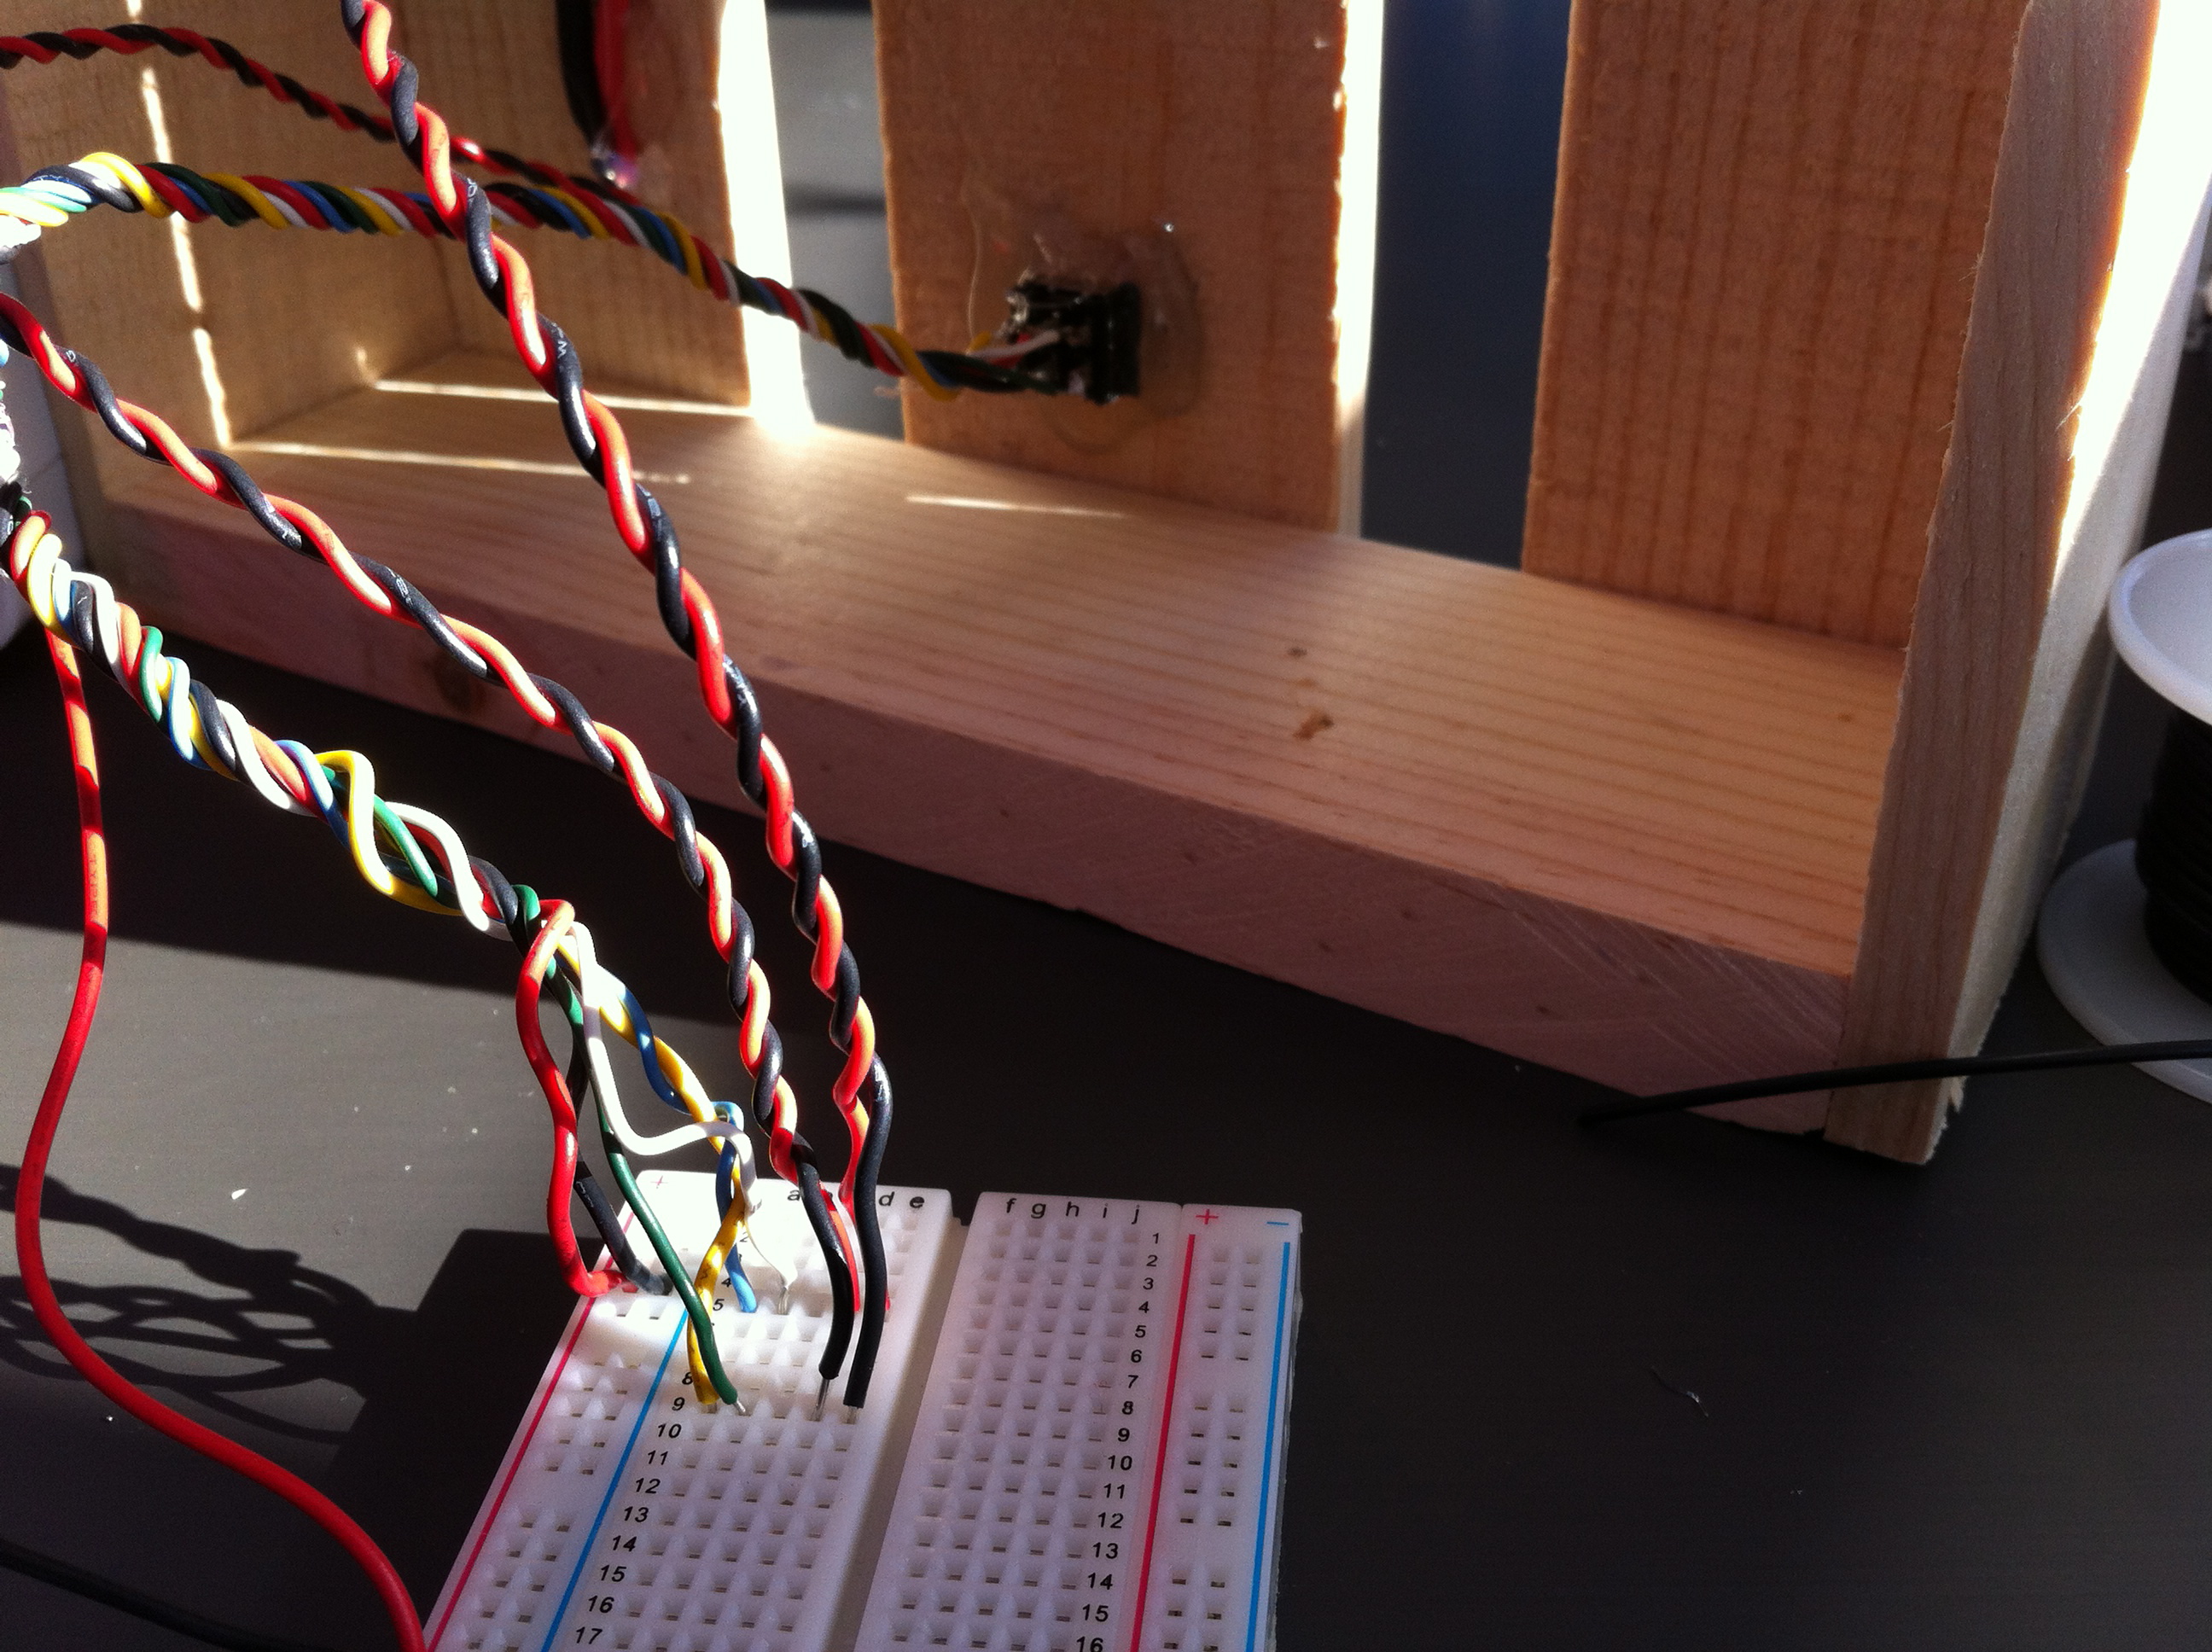
Motor removed from DVD drive assembly and soldered to wires. Shown in motion, taped to a battery.
Here second motor from the assembly and soldered wires to it so at least we have one motor to work with. And hey, it runs off of a CR2032 battery.
I was bummed that I didn’t have a second assembly to add to box that showed a different way to gear a DVD drive.
–
New wiring for the DPDT motor changes it to control the forward and back of both motors.
Moving on I changed the wiring on DPDT switch to turn both motors on together, but switch their directions (link to video).
–

Colorful resistors salvaged from a VCR Board.
The motor without gears and the black disk is for spinning the CD. It spins very fast. Throws pipe cleaners mounted to it across the room fast. My first thought about how to slow it down was to steal some of the beefier resistors from the VCR circuit board we have to limit it’s current draw and the voltage it was receiving. All of them proved to be too much resistance. (Note to self – check how they or the lower wattage ones will behave in parallel next time )
–
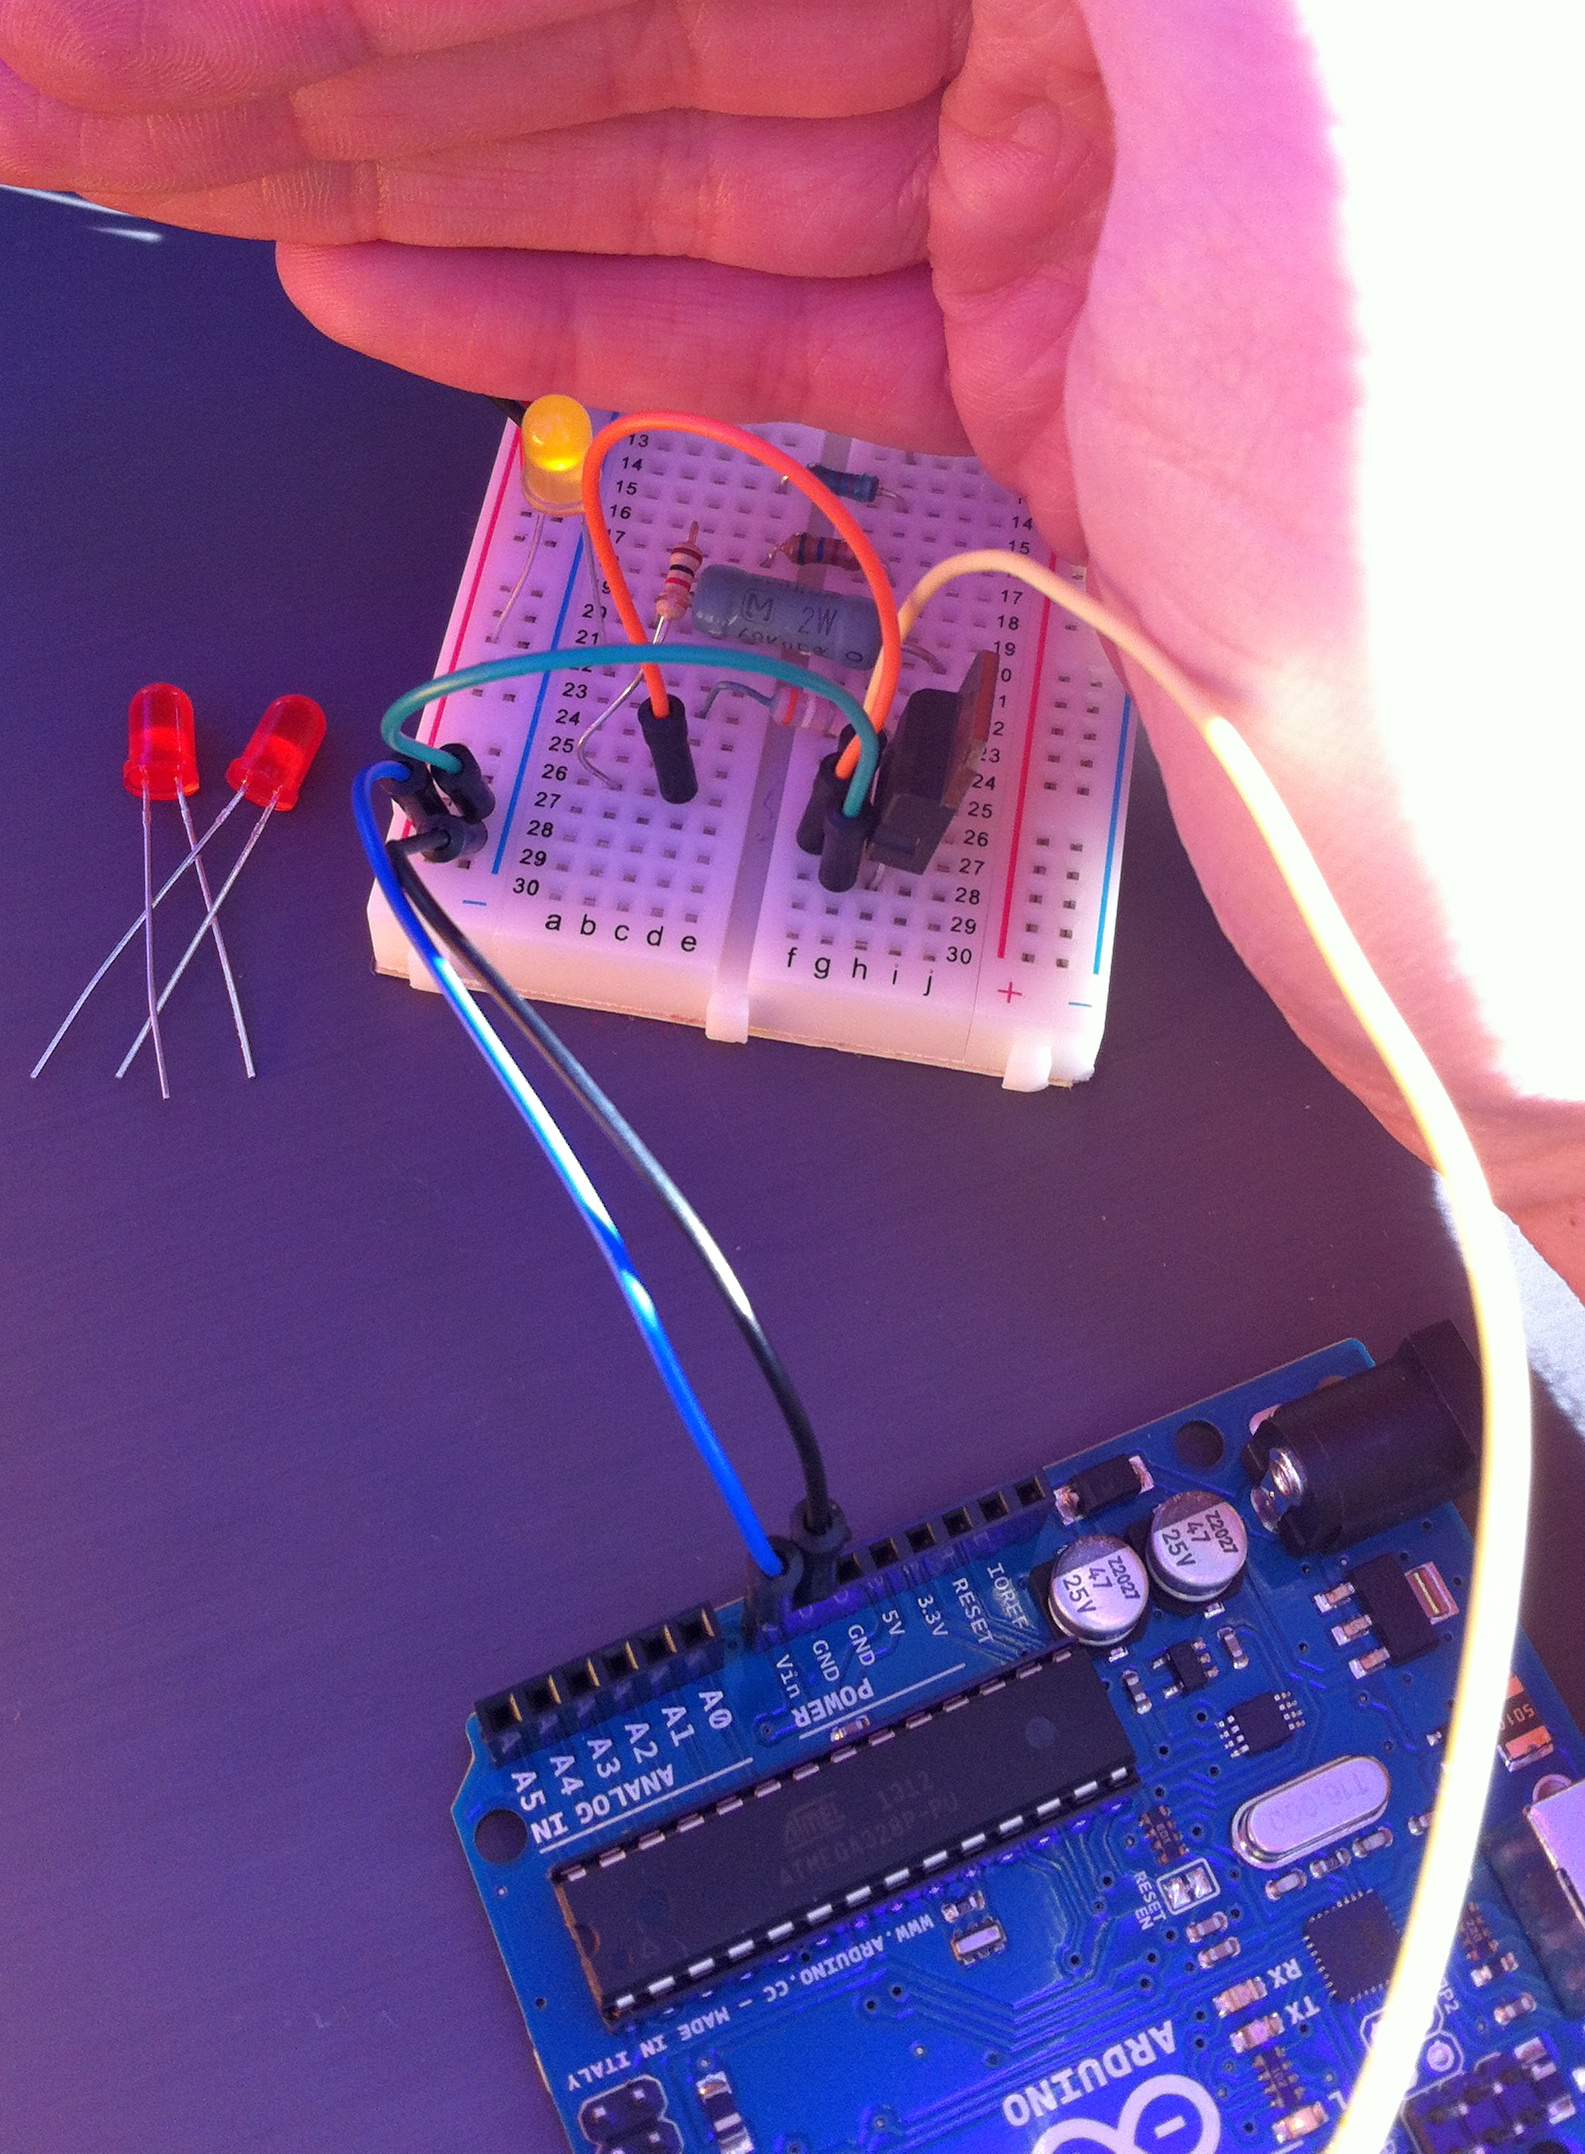
PWM via a transistor, LED standing in for motor
Using a transistor and PWM from an Arduino board seemed like the next option to try. There are a lot write ups on how to do that but the Interactive Telecommunications Program’s Lab Assignment for controlling high current loads breaks it down well. If you are new to electronics and Arduino going through ITP’s tutorials is one of the free (except for parts) methods to get started.
Arduino code uses an expression called analogWrite() to change the intensity of the power it is supplying. A value between 0 and 255 determines what percentage of time the pin is on. For those of you who are curious, a value of 75 was the lowest value I used that could get them motor past it’s starting inertia consistently.
–
Thanks about all I have time to write for today. Make sure to check out the full set of pictures on flickr. I’ll add more captions and information as I get time.