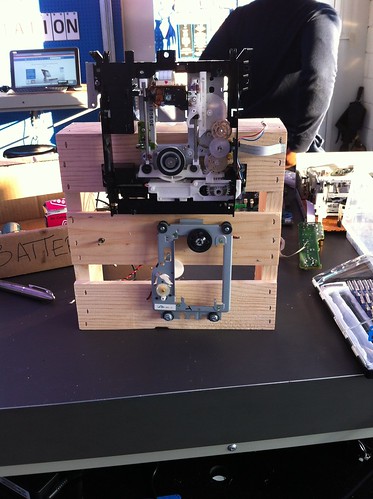
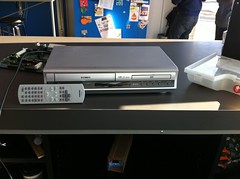
TL;DR Couldn’t keep myself from opening a second VCR that arrived because it ALSO had a DVD player. The DVD part was definitely broken. Fully dismantling the DVD assembly let me track down the culprit: a cracked gear. Once the tray open/close function mostly worked again, I removed the player completely from it’s original home and added the assembly to the same crate as the first set.
Next time I hope to compare the two VCRs a bit more, especially my growing collection of capstan motors.
The Intel Pop Up Experience w/ Maker Ed – Day 7 set on Flickr has all the pictures from this past Friday.
–
Friday we created a new set-up for a more inviting display in the window. The new layout makes it easier for passers-by to see what the Tech Disruptors are up to. The original idea had been to put our work surface there, but on full sunlight days it gets crazy hot. Battery bursting, epoxy melting hot, so, no.
–
I’m pretty eager to have a functioning VCR to play with to figure out how to control the capstan motors and the video head motor– i.e. the motor that spins the tape spools at a constant rate. Turns out, this combo player was broken too. On both sides. The VCR’s cassette basket’s levers for checking whether or not a tape is inserted weren’t sliding correctly. The DVD side’s tray wasn’t moving at all. The DVD player is mechanically simpler so I started with that.
–
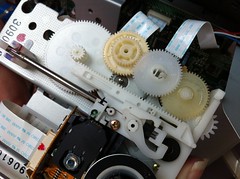
With the DVD assembly fully apart it was easy to see that a gear had popped off its spindle and was cracked. I crazy glued the gear together and reattached it to the spindle. Video below.
–
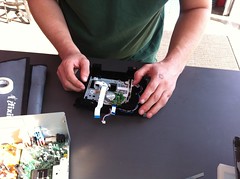
Once the glue job on the gear was checked, it was time to reposition the metal assembly into it’s plastic seat. I got some assistance from the very helpful Stanley. He is a mathematician staying locally to do work on network theory. He taught me about Category Theory (vs. Set Theory), Plasma Speakers and the palladium/cold fusion connection. Sweet.
–
With the DVD player back in place I could used the open/close button from the faceplate to test whether the tray was working again. Something was still rough sounding, but I decided this was close enough for me!
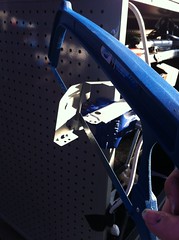
Mounting the full plastic assembly with enough clearance for the motors meant using the hacksaw to cut down the metal mounting bracket from the DVD player.
–
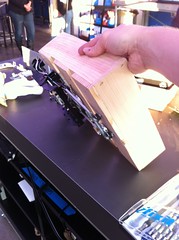
The assemblage is getting a little front-heavy. It balances much better when the new addition is pointing upwards rather than towards the side. I’m not sure which way I like better aesthetically, though.
Next thing to do is to desolder the interconnects (the places where the flat wire cables clip into the board) from the main board so I can maybe reuse them on my own board. That is TBD. I may just solder on new lead wires.
More tomorrow…
