TL;DR The day ended up having 3 parts in parallel: fixing a solder joint to make a curling iron reusable again, taking the amplifier apart completely, and more BrushBots.
Fixing
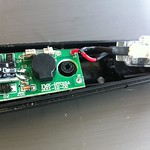
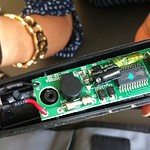
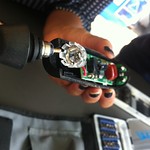
One of our experience agents was about to return her curling iron because it didn’t work any more, but thought it might be more fun to try to fix it since she thought it was probably something minor. She took it apart herself and we found a loose solder joint. It took just a few moments to put it right again. The steps:
- Use a soldering iron, solder braid (or solder-sucker) and small pliers to remove any broken wires and excess solder from the contact.
- If the wire is stranded, twist it together and use a tiny bit of solder to make it one unit
- Heat the contact pad again if the hole isn’t clear and gently work the wire through the hole
- Add more solder, if needed
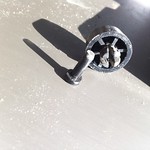
The curling iron was thoughtfully designed with a slip ring allowing the power cord spin freely in the base, preventing tangle ups. Now that’s a feature to look for in a soldering iron purchase, too!
 |
 |
 |
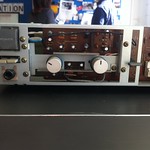
Taking Apart
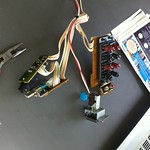
I finally worked up the courage to dismantle the Kenwood Amplifier from Day 11. The knobs are lovely, but of particular use are the binding posts for the power supply.
 |
 |
 |
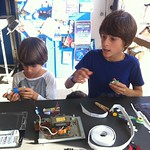
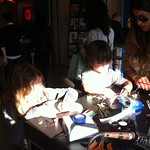
More BrushBotting
For me an extra special treat was being able to use the kits and supplies left over from the challenge to help some kids make their own BrushBots. There hadn’t been any kids that passed by during the challenge itself, so I enjoyed seeing some little minds blown.
 |
 |
 |